
The Art and Technique of Lazy Climbing
SRT/SRS Tree Climbing: Pre-Direct
At this point, we’ve covered the basics of stationary rope climbing systems enough that it’s safe to say, we can shift our attention to other SRS tree climbing techniques. Our main focus for the majority of this blog will be Pre-Directing, or as I have heard it mentioned before, lazy climbing! This technique has the potential to increase efficiency and is an energy saver…when done right.

The Concept of Pre-Directing
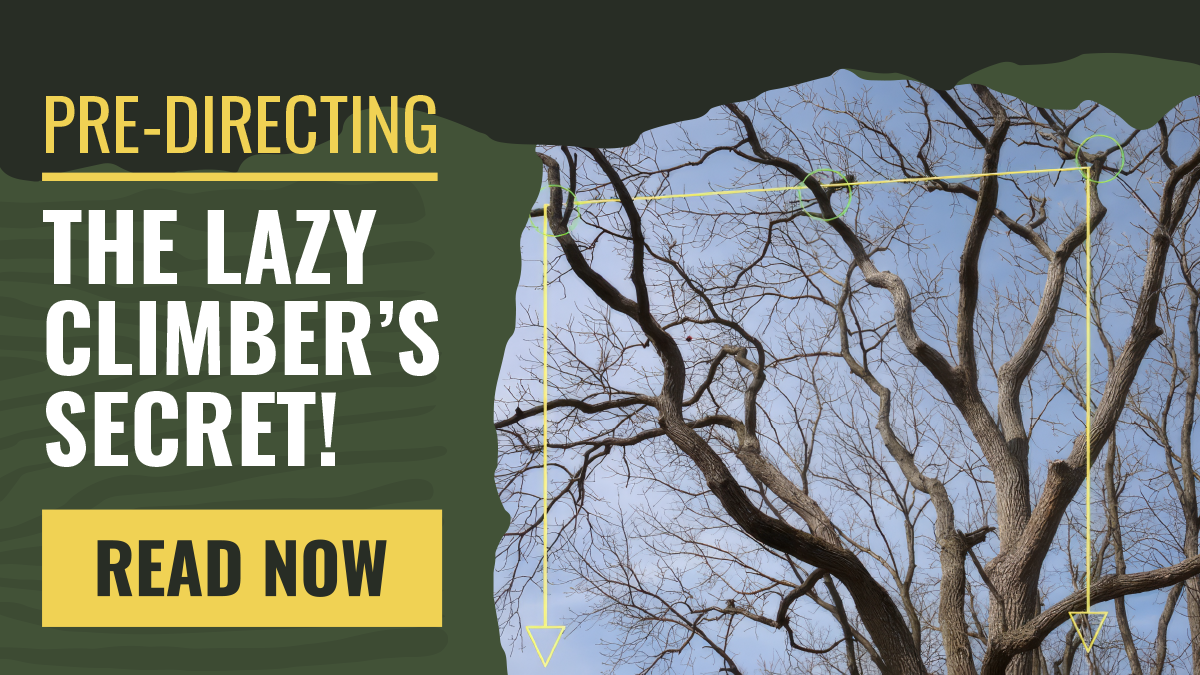
Pre-directing refers to the strategic placement and routing of our tree climbing ropes before an ascent takes place when utilizing a base anchor. This climbing method has the potential to minimize hazards that can involve the tree climber from trekking through the crown trying to get from point A to point B and guarantees a smoother climbing experience.
Benefits of Pre-Directing
-
Enhancing Safe Movement: Through careful route planning of the climbing rope, we tree climbers can avoid the flat rope hazard. As we all know, falling from a negative rope angle equals us getting hurt!
-
Increased Efficiency: A pre-directed rope allows for a direct ascent and access area that requires work, saves time, and cuts down fatigue!
-
Improved Positioning: Rather than having to do battle with negative rope angles on limb walks, pre-directing can help us achieve optimal positioning to perform our tasks while aloft.
Steps in Pre-Directing for SRT/SRS
1. Planning the route.
Just as it goes with climbing any tree, an assessment is required and that of its surroundings. Know the scope of the work needed in the crown and follow it up with identifying your primary suspension point or tie-in point. Once that has been established, begin looking for suitable redirect anchors. These anchor points should be wide enough to allow rope to pass through and stout enough to handle the load it will be subjected to. Also, it should be devoid of structural defects.
2. Choosing the right equipment.
You should already have the necessary equipment, climbing rope, two throw line sets, and a secondary system (may or not be used depending on your climbing style).

3. Setting the route.
I’ve said before and I’ll say it again, THROW LINE IS YOUR BEST FRIEND! Throw line is an absolute must if you plan on setting your route from the ground, and don’t let me forget patience. We all begin to get frustrated if we can’t land our shot within three throws, now that may seem excessive to the pros, but some of us can’t ace our shots; however, that doesn’t mean we aren’t trying.
This can be done two ways; using a throw line, shoot your main and pass the rope through, then continue to shoot your pre-directs and repeat until you have successfully set the route. To me, this technique excels when one SRT redirect is needed, but when multiple redirects are required, it may become time-consuming. The second way involves only setting the rope once the entire route is set with your throw line(s). I tend to pre-direct like this myself in the event that I have to pull out a redirect and work on resetting it to a different branch union that does not present a swing or fall hazard.

4. Conduct a final walk-around.
Before we blast off into the crown, perform a final walk-around to ensure the base anchor is set accordingly and slack is completely drawn out of the system. Along with this final walk around, don’t forget to look up. A drawback to utilizing pre-directs is bad rope deflections. There are times when we overlook the rope during installation and fail to realize the rope deflection caused by tree limb interference; I have heard of people experiencing shock from instances like this. That’s where the final walk-around is necessary.
Coming out of a pre-direct
Trying to come out of a pre-direct and traversing toward the second area of work can be cumbersome. For the sake of this blog, I will describe a few different ways; both will work but one will require brute strength and extreme balance.
-
After the work is done in area A, ascend toward the pre-direct and proceed to muscle up – this can be really difficult, especially if the redirect is narrow and horizontal rather than vertical-ish! Once over immediately tend any slack that may have been introduced into the system. It can become tricky at this point depending on the rope angle; negative rope angles will put the climber in danger and rather than relying on the climbing rope, the climber now must rely on their own balance and lanyard until a desirable rope angle is achieved. This method works but exposes the climber to unnecessary risks.
-
A preferred method (described here while climbing on the DMM Kinisi Max and the redirect being somewhat vertical), after ascending to the redirect, lanyard into the piece utilizing the Forward D rings. Follow it up by extending the second bridge and with a hitch cord, tie a quick V.T. onto the rope, and connect to it. Next, disconnect the main system and pass it around the redirect, reconnect, and detach from the V.T. If there is no risk of a dangerous swing, lanyard off and go about your business. However, if the risk of a dangerous swing is present, take the prussik used previously and tie a V.T. onto the fall of the rope, which then connects back to the climber. This now turns into a Dragging Tail redirect, mitigating the swing hazard. This does include a few extra steps but ensures a safer method of exiting a pre-direct.

Conclusion
Pre-directing is an excellent SRT/SRS climbing technique that is worth practicing and keeping stored in the bag of tricks. If you have a set of binoculars and it’s your first time applying this, highly recommend using them to inspect the route. Give this a try and let us know your experience.
Leave a comment